Zeroing your rifle is a critical step to ensure your point of aim (POA) matches your point of impact (POI) at a given distance. While many shooters rely on measuring inches on a paper target, a faster and often more precise method—especially for those using scopes with MOA or MIL reticles—is to use the reticle itself as the measuring tool. This method streamlines the adjustment process, getting you zeroed quickly and efficiently.
Understanding Your Reticle and Adjustments
Before you begin, there are a few requirements for this method to work. Additionally, you must understand a few things about your scope:
- Your Reticle's Measurement Unit: Is your reticle marked in MOA (Minute of Angle) or MIL/MRAD (Milliradian) or some other kind of ballistic reticle?
- Your Turret Click Value: Do your elevation and windage turrets adjust in the same unit as your reticle (e.g., a MIL reticle with 0.1 MIL clicks, or an MOA reticle with ¼ MOA clicks)?
- What focal plane is your scope? First or front focal plane reticles hold the same measurement no matter what power the scope is at. Second or rear focal scopes set the reticle measurements at a certain power. For instance if you have a second focal plane scope where the reticle hash marks are a known distance at 10x, at 6x those measurements will be different. Many second focal plane scopes have some kind of marking to show what power the scope should be at for correct MOA or MIL measurement. For speed and overall ease of use, first focal plane scopes work best for this method.
For this method to work, your turret adjustments and reticle hash marks need to be matching. There are scopes out there with mis-matching turrets to the reticle. For example there are many scopes that have ¼ MOA turret clicks but feature a mil dot style reticle. While it is possible to do math conversions to figure out the difference, this defeats the purpose of this method simplifying the zeroing process.

Don’t Forget to Boresight Your Rifle
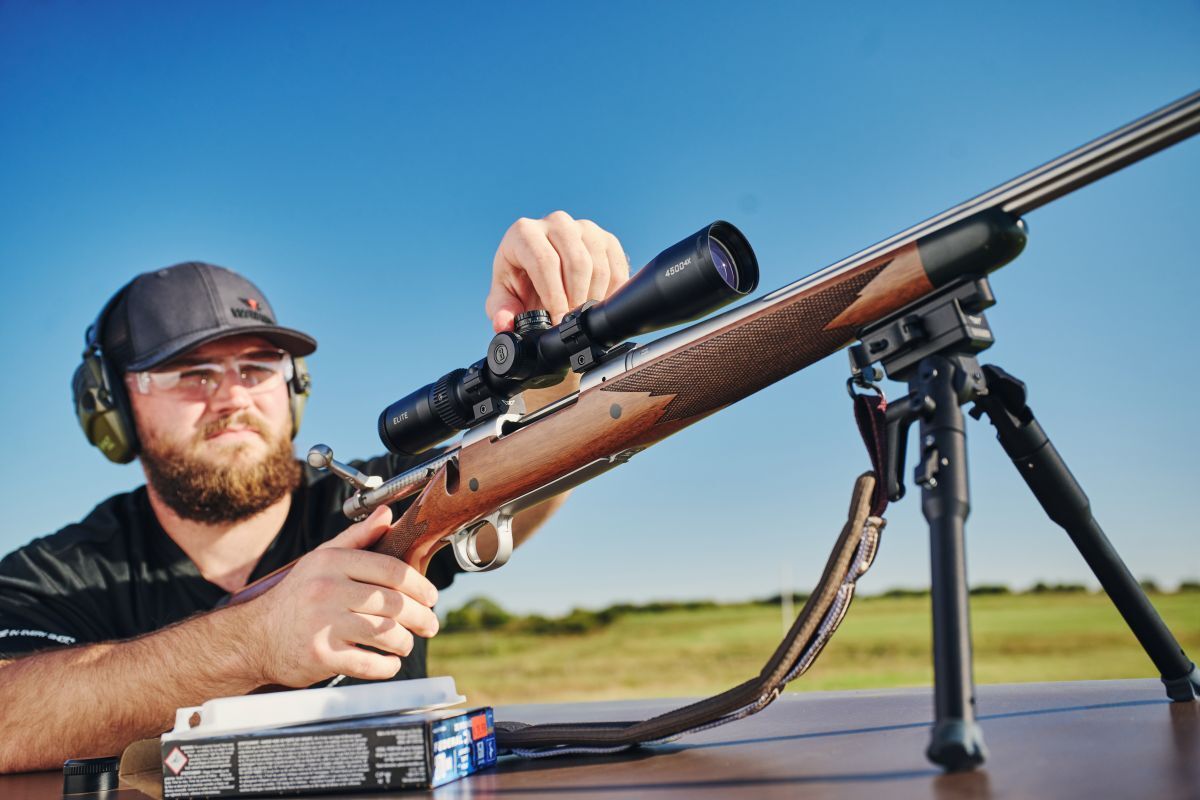
The first step in zeroing your rifle is always boresighting. This can help get your first shot on the target (or as we say “on paper”). There are several ways to boresight and you can read more about them here. One of the tried and true methods is to pull the bolt out of the rifle, hold the rifle steady and look down the bore at the target, then look through the scope and adjust the turrets until the crosshair lines up with the center of the target as it appears through the bore.
Reticle-Based Zeroing Method #1 (The "Move the Reticle to the Bullet Hole" Technique)
This technique is simple: once you fire a shot and establish your point of impact, you hold your rifle steady and dial your turrets so the reticle moves to the bullet hole. The tricky part to this method is holding the rifle steady as you move the reticle. This can be used to get you closer to the center of the target but is not as precise as measuring using the reticle. This method is helpful when the first impact is way off center but on paper, as you can make large adjustments then fine tune after a second shot.
Reticle-Based Zeroing Method #2 (The "Measure Using the Reticle and Adjust" Technique)
This is the case where you want to use a MIL or MOA based reticle and turret adjustments to quickly zero. For this method you will start out exactly the same, boresighting and taking a first shot. Now using your reticle, hold the center crosshair on the center of the target you were aiming at then find the first impact hole. Using the hash marks on the reticle count how many lines up or down and left or right the impact hole is. Next use your elevation and windage turret to adjust to the distance you measured with your reticle (make sure you are adjusting the correct direction). This will get you close on the next shot and you can fine tune from there.

Confirm Zero – Shoot a Group
Once you think your rifle is zeroed, you want to shoot a group to confirm that there are no additional adjustments to be made. Shooters commonly shoot a 3 shot group to confirm zero, but this can be a mistake. With typical group sizes of hunting rifles, a 3 shot group leaves a margin of error that may be corrected by shooting a 5 shot group. What are the odds of your 3 shots, the true center of your group is between them? If your group size is 1” or larger, one of those rounds could have been what we call a flyer (meaning some part of your body caused the shot to pull in a direction), and the true center of your group is off over an inch.
There are 3 reasons why a shooter will shoot a 3 shot group.
- They have always been told to shoot a 3 shot group and never questioned it.
- Ammo is expensive and they are trying to conserve every round.
- Shooting a 5 shot group will ruin their group size. They stopped at 3 because their group was around 1 inch.
The truth is that a 5 shot group is a much better indicator of where the true center of your group is and you can adjust from there.
Recap
This reticle-based method is the fastest way to dial in your zero, saving you time and ammunition at the range. Once zeroed, consider locking down your turrets to zero and documenting your settings. Next time you have to zero a scope remember to follow these steps.
- Understand what kind of reticle and adjustments your scope uses and learn how to use them.
- Boresight your rifle.
- After the first shot on paper, use your reticle to make big adjustments either by moving the crosshair to the hole, or measuring with the reticle and adjusting.
- Fine tune your impact.
- Confirm zero with a 5 shot group.
With your scope secured in a precision Warne® mount, you can trust your zero will hold true.


