Mounting a scope isn't just about attaching it to your rifle; it's about creating a secure and stress-free connection between your optic and firearm. For serious shooters, precision is paramount, and using the right tools is critical. At Warne®, we understand the crucial role these tools play. Let's dive into the essential gear that will set you on the right path.
Wrenches and Drivers
Why it matters: A good set of wrenches and drivers is essential not only for initial assembly, but also adjustments, and general maintenance for all firearms.
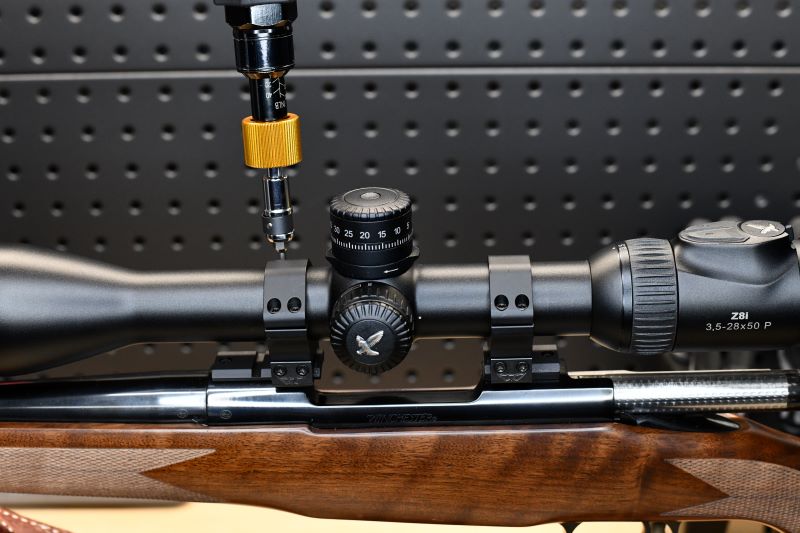
What to look for: You'll likely encounter Torx, hex (Allen), and flathead screws when mounting scopes. You can choose individual drivers or a driver that uses replaceable bits. A comprehensive kit with a variety of sizes will save you frustration. Magnetic tips can be a real time-saver, preventing dropped screws in awkward places. A good ratchet and socket set can make quick work of any nuts that need to be tightened.
Pro Tip: Always use the correct size driver for the screw head to prevent stripping, which can be a costly mistake.

Torque Wrenches
Why it matters: Overtightening can damage your scope tube, rings, or rifle receiver, while under tightening can lead to slippage and loss of zero. A torque wrench is non-negotiable for consistent, secure mounting.
What to look for: A quality torque wrench will allow you to precisely set the recommended inch-pounds (in-lb) or Newton meters (Nm) for your scope rings and base screws. Many options come with interchangeable bits to accommodate various screw types. Look for a wrench that offers a clear click or indication or easy to read dial when desired torque is reached.
Pro Tip: Warne products specify exact torque settings, and using a reliable torque wrench ensures you meet these specifications, always double check what type of torque wrench is being used. Foot-pounds and inch-pounds are different measurements of torque, and you do not want to confuse them. Learn more about Proper torque for scope mounts here.

Lapping Bars and Alignment Rods
Why it matters: There are a number of reasons that lapping scope rings may be necessary. Rifle receivers are not always perfect, and tolerance stacking is a real thing when attaching multiple components together. The goal is to make sure there are no unnecessary high spots or pressure points that can potentially damage your scope or cause inconsistent performance. Lapping bars and alignment rods help address these issues, sometimes.
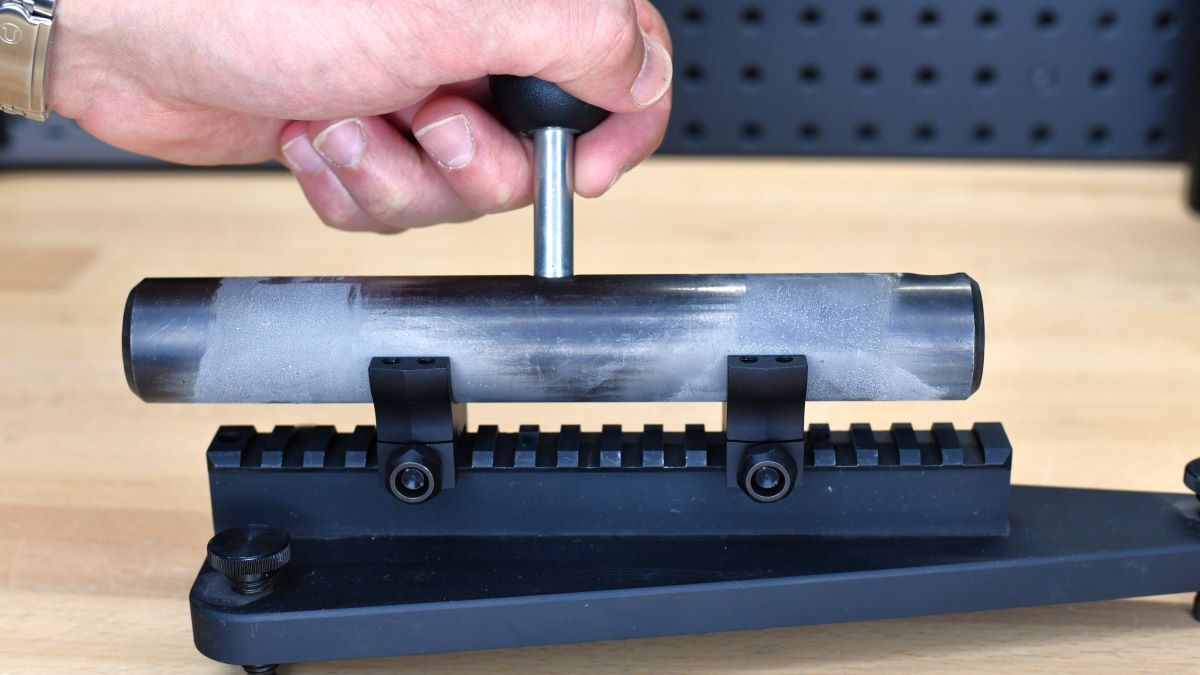
Lapping Bars—What they do: A lapping bar, used with an abrasive compound, hones the inside surfaces of your scope rings to create a perfectly concentric and stress-free fit for your scope tube.
When to use them: In most cases where a quality rifle and scope mounts are being used lapping is not needed. Some cases if you suspect minor misalignment, a few passes of a lapping bar will tell the story and may be just the ticket. In cases where there are a lot of misalignments lapping likely will not solve the issue. For more information about lapping and how it applies to vertically split rings read: Is Lapping Needed?
Alignment Rods—What they do: These precision-machined rods are inserted into your scope rings to visually check for perfect alignment. If the rods don't meet precisely, it indicates an alignment issue that needs correction before mounting your scope. Alignment rods don’t always tell the full story, and in some cases can lead you to believe there is misalignment when there is not. For example, Maxima® vertically split rings will not correctly tighten on alignment rods like they would on a scope tube, this can give the impression of misalignment when there is none.

Scope Leveling Tools
Why it matters: A canted scope, even by a small degree, will cause your point of impact to shift horizontally at longer distances, making accurate shooting impossible. Leveling your scope ensures your reticle is perfectly vertical relative to your rifle.
What to look for: Various leveling tools are available, from simple bubble levels that attach to your scope or rail to more advanced systems. Many involve two levels – one for the rifle action or rail, and one for the scope's turrets.
How to use them: The key is to ensure both your rifle and your scope are perfectly level before tightening down your ring screws. This eliminates reticle cant and ensures consistent shot placement.
Boresighters
Why it matters: After you successfully mount a scope, the clear next step is to hit the shooting range and get that rifle zeroed. Boresighting a rifle can reduce the amount of time and ammo used to zero. The goal of boresighting is not to perfectly zero a scope, but to get in the ballpark or at least get as we say “on paper” meaning the first shots are on the target. Nothing is more frustrating than shooting at a target with no visual reference to where the bullet is impacting.
What to look for: There are many ways to successfully boresight a rifle. The tried-and-true method of pulling the bolt and looking through the bore then aligning the crosshairs on that point certainly works, but there are tools that may offer similar or better results. The two main styles of boresighting tools are lasers and grid style. Laser boresighters may install into the muzzle or placed into the chamber, but both styles perform the same function. Laser boresighters project a visible laser that represents the center of the bore at a given distance. Grid style boresighters use a small grid inside a housing that counters the magnification of the scope and allows the small grid to clearly appear in the optic. For both styles, you simply align the scope crosshair with the dot or center of the grid.


