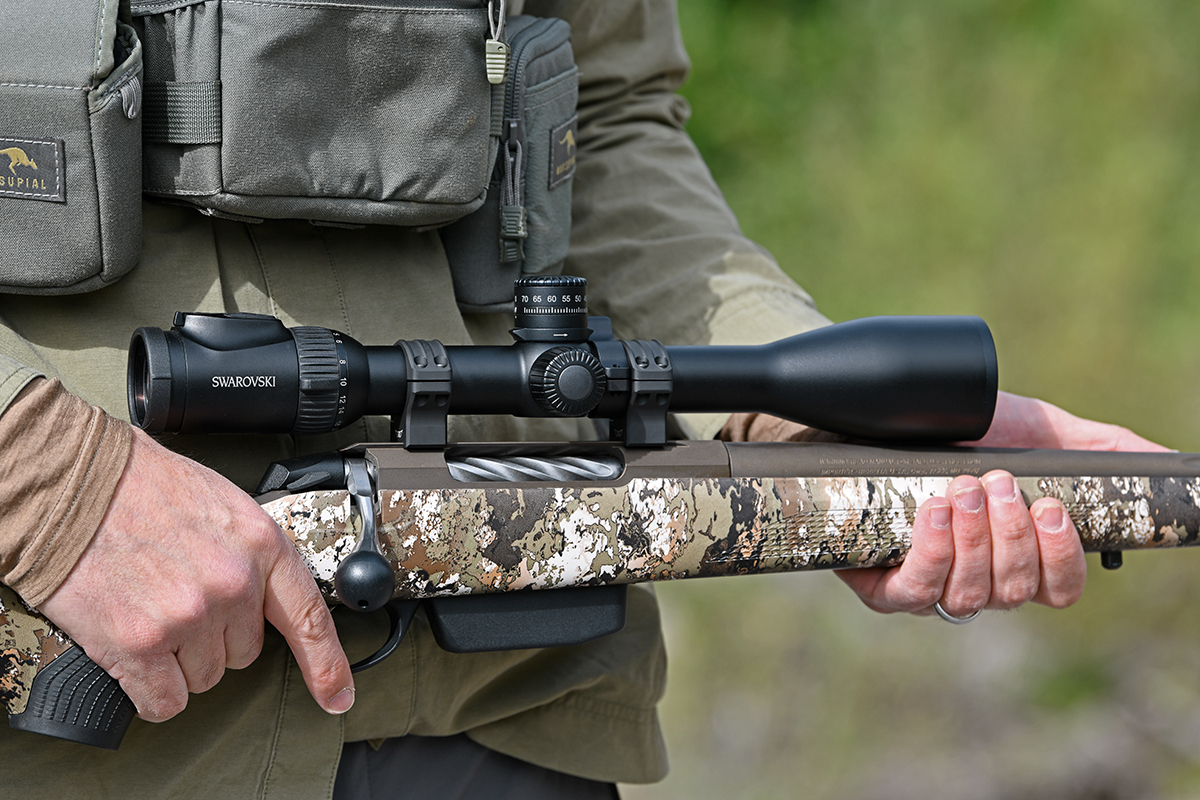
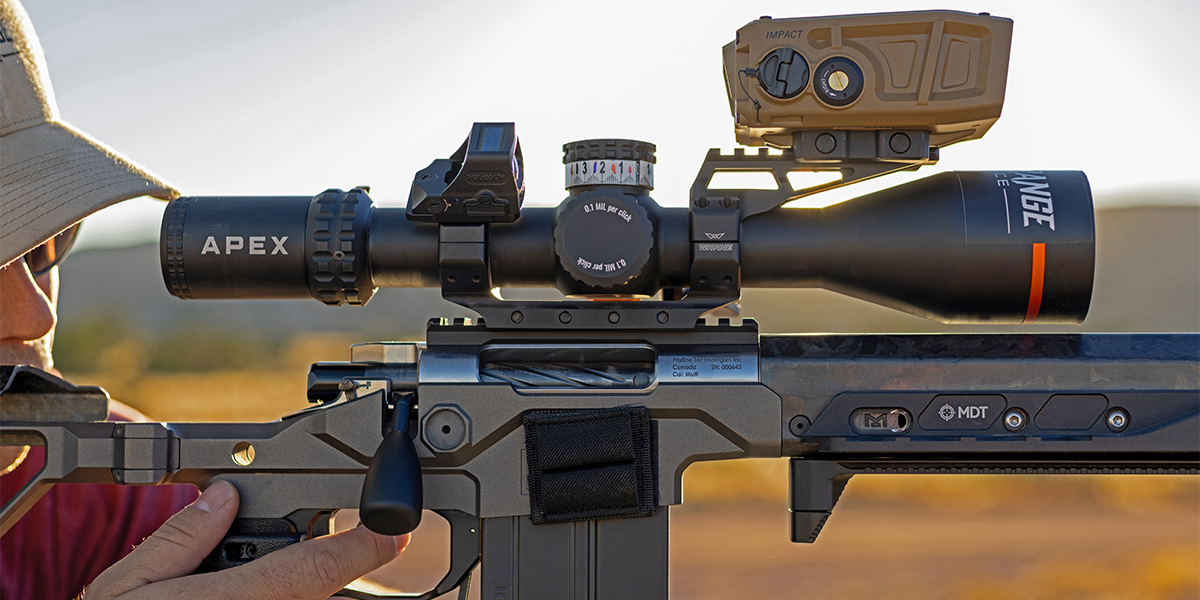
Mounting a rifle scope correctly is paramount for accuracy, reliability, and consistent shooting performance. Whether you have mounted a scope before, or this is your first time, it’s never a bad idea to expand your skillset. At Warne®, we understand the critical role a quality mount plays, which is why our products are engineered for unwavering strength and precision. You know the adage about teaching a man to fish? That is what this blog is all about.
This guide will walk you through the essential steps to mount your scope like a pro, highlighting the techniques and best practices for proper installation of Warne Maxima®, Mountain Tech®, Skyline®, HyperLite™, Tactical and Vapor® scope rings.

Step 1: Choosing the Right Scope Base – The Foundation
Before you even think about rings, you need the right scope base. The base provides the secure interface between your firearm and your scope rings. Warne offers a variety of scope bases to fit most popular rifle models and action types, including:
- Picatinny Rails: These are the most versatile, offering multiple slots for precise scope placement and ample eye relief adjustment. They are ideal for tactical setups and long-range shooting, available in 0 MOA for standard use or 20 MOA for long range shooting to maximize your scope's elevation adjustment. Not sure what 0 or 20MOA means? Check out 20MOA explained for a detailed rundown.
- Weaver Style Bases: Similar to Picatinny but lower profile with slightly different slot dimensions. Warne offers 1 piece and 2-piece Weaver style bases with 2-piece being the most common. Many Warne rings are designed to be compatible with both Weaver and Picatinny.
- Direct Fit Dovetail Bases: For rifles with integral dovetails on the receiver (like Tikka, CZ, many Ruger models and a plethora of rimfire rifles), Warne offers specific direct-mount rings or bases.
Key Consideration: Rifle Model & Action Type: Always ensure your chosen base is specifically designed for your rifle model and action length. Consult your rifle's manufacturer specifications or Warne's fitment guide to ensure proper compatibility. Warne makes it easy by using the Find My Scope Mount tool. Just enter your rifle information and you will be shown all of the options for your specific firearm.
Step 2: Selecting Your Warne Scope Rings
Once you know what type of base will be used, it's time to choose the perfect scope rings. Warne offers several different styles of rings and mounts for different scope types, shooting styles and budget. Let's explore our popular product lines:
- Warne Maxima Scope Rings: Our flagship steel rings, the Maxima series, are engineered for extreme recoil and unparalleled durability without breaking the bank. Available in both vertical split and horizontal split configurations, they feature a unique square recoil key that fit Weaver-style or Picatinny bases and are also available for direct dovetail mounts like Tikka, Ruger and CZ. Maxima rings have been our most popular design for decades and offer great value and performance.
- Warne Mountain Tech Scope Rings: Designed for the backcountry hunter and lightweight precision rifle enthusiast, Mountain Tech rings are precision CNC machined from 7075 T6 billet aluminum. This aerospace-grade material provides an exceptional strength-to-weight ratio, making them incredibly robust without adding unnecessary bulk to your rifle. They feature a Mil-Spec hardcoat anodized finish for superior abrasion and corrosion resistance, and stainless-steel hardware for "Element Proof" protection. Mountain Tech rings are a top choice for those who demand lightweight performance and uncompromised accuracy in challenging environments.
- Warne Vapor Scope Rings: For shooters seeking a strong, reliable, and economical mounting solution, our Vapor series delivers outstanding performance. Crafted from lightweight aluminum, Vapor rings are available in vertical or horizontal split designs and fit weaver style, picatinny or 3/8” dovetail for rimfire specific models. They provide field-proven performance and are backed by our lifetime warranty, making them excellent value for a wide range of firearms and optics.
- Warne Skyline Precision Mounts: When precision rifle competitive shooting demand the utmost in rigidity and repeatability, Warne Skyline Precision Mounts rise to the challenge. These mounts are meticulously CNC machined from 7075 T6 billet aluminum. Skyline Precision Mounts are the choice for discerning shooters who require a scope mounting solution that can withstand the rigors of competitive and tactical environments and ensure every shot counts at extended ranges. They feature 10 different mounting locations for accessories such as: Diving board picatinny cap, data card holder, red dot optic mounts and more.
- Warne Tactical Mounts: Built to endure the harshest conditions and deliver unwavering performance in demanding situations, Warne Tactical Mounts are engineered for law enforcement, military, serious tactical and competitive shooters. These mounts are characterized by their rugged construction, featuring multiple cross-bolt designs for superior clamping force on Picatinny rails. Whether you're running an AR platform or a heavy-recoiling bolt-action, Warne Tactical Mounts ensure your tactical scope remains rock-solid.

Important Considerations for Rings:
- Scope Tube Diameter: Match your ring diameter to your scope's main tube. Warne offers mounts for 1”, 30mm, 34mm, 35mm and even 40mm scope tubes.
- Ring Height: In many cases, shooters choose the lowest possible ring height that still allows your scope's objective lens to clear the barrel and provides comfortable eye relief and a proper cheek weld. While this works in many cases, you need to consider the type of firearm and other accessories that can affect scope height. For example, the flat top AR-15 style rifle has a specific minimum height for the scope to be useable, and Warne offers mounts that are designed for that platform. When in doubt, refer to the Warne Scope Ring Height Calculator.
The Critical Role of a Torque Wrench
This is perhaps the most overlooked, yet vital tool for mounting a scope. Many of the issues that can arise when mounting a scope like stripped screw heads or threads, stripped receiver threads or damage to scope tubes can be avoided by using a torque wrench. Warne provides torque specifications for all products that are clearly stated in the installation instructions. The two major points to consider when using a torque wrench for scope installation are the unit of measure and torque spec for wet vs. dry threads.
All Warne products have torque specifications listed in in-lbs, so we recommend using an in-lbs torque wrench. The use of thread locker compound can affect the amount of torque being applied. Since the liquid lubricates the screw threads, at an equal torque value, lubricated or wet thread screws will apply more pressure, this is very important to know to avoid damaging scope tubes. Warne torque specs for ring caps is always a dry thread spec (no thread locker recommended) while screws to mount the base to a rifle receiver is a wet torque spec (non-permanent thread locker is recommended). For more information read Torque and Scope Mounts: Proper Torque Specs for Scope Rings.

Step 3: The Mounting Process
- Safety First: Always ensure your firearm is unloaded and the action is open before beginning any work.
- Clean Surfaces: Thoroughly clean all mounting surfaces on your rifle receiver, scope base, and scope rings to remove any oil, grease, or debris. A degreaser like rubbing alcohol works well.
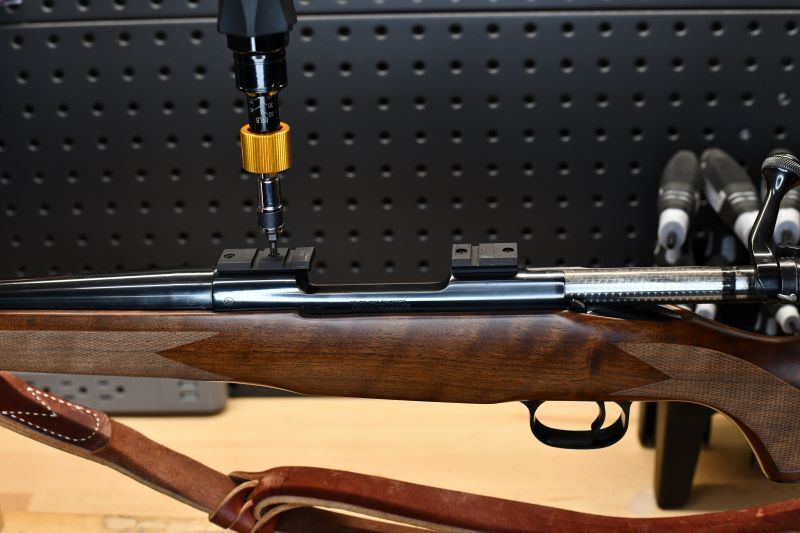
- Install Bases (if applicable): Mount your chosen Warne scope base to your rifle's receiver. Apply a small amount of thread locker (blue Loctite is recommended) to the base screws and tighten them to the specified torque setting using your torque wrench.
- Install Mount to the Base: If using a traditional, horizontally split rings, place the bottom halves of your rings onto the base. If you are using vertically split rings, it is a slightly different installation procedure where the ring is attached to the scope then fitted to the base. To seat the recoil key, apply pressure on the ring forward toward the muzzle, then tighten and torque the clamp screws.
- Rough Eye Relief & Leveling: Gently place your rifle scope into the bottom ring halves. Shoulder your rifle and adjust the scope's position forward or backward to achieve proper eye relief at your preferred magnification. Ensure the scope reticle appears level by using a scope leveling tool or by referencing a plumb line, to learn more about leveling a reticle watch our instructional video here. For more information, please watch the video below and read Proper Eye Relief on a Rifle Scope.
- Install Top Ring Halves & Snug Screws: Place the top halves of the scope rings over the scope tube. Insert and lightly snug all ring cap screws. If using vertically split rings, this step is already done.
- Final Torque: Using your torque wrench, tighten the ring cap screws incrementally in a crisscross pattern to the optic manufacturers torque recommendation without exceeding the maximum torque listed by Warne in the instructions. This ensures even pressure and prevents crimping or damaging your scope tube.
- Double Check: Once all screws are torqued, re-verify that your scope is level and eye relief is correct.
Special note on installation procedure. Some model specific mounts require slightly different steps than what are listed above. For your specific make and model or mount style, refer to the product installation instructions provided by Warne, or reference one of the installation videos for the correct procedure.
Ready for the Range
There you have it, the key takeaways from this article are to select the proper base, chose the correct mount, follow mounting instructions and invest in a good torque wrench. By following these steps and procedures, you can mount any scope with confidence. The next step is to hit the shooting range to zero your rifle. Be sure to read How to Zero Your Rifle Scope for some tips and tricks to make the most of your time at the range.


